

Warning: This post contains adult themes and is unsuitable for non-masters rowers.
Wednesday—glassy water, a borrowed GoPro, a voyage of discovery.
The club camera had languished in the boatshed for months. It was time to get my head around it. Or, rather, get it around my head.
In a moment of enthusiasm and determination, I had splashed out on the ‘Floaty backdoor’ (if I was going to drop it in the lake, at least it would float), the head strap, and ‘Chesty’ the chest harness.
You may learn something from my mistakes.
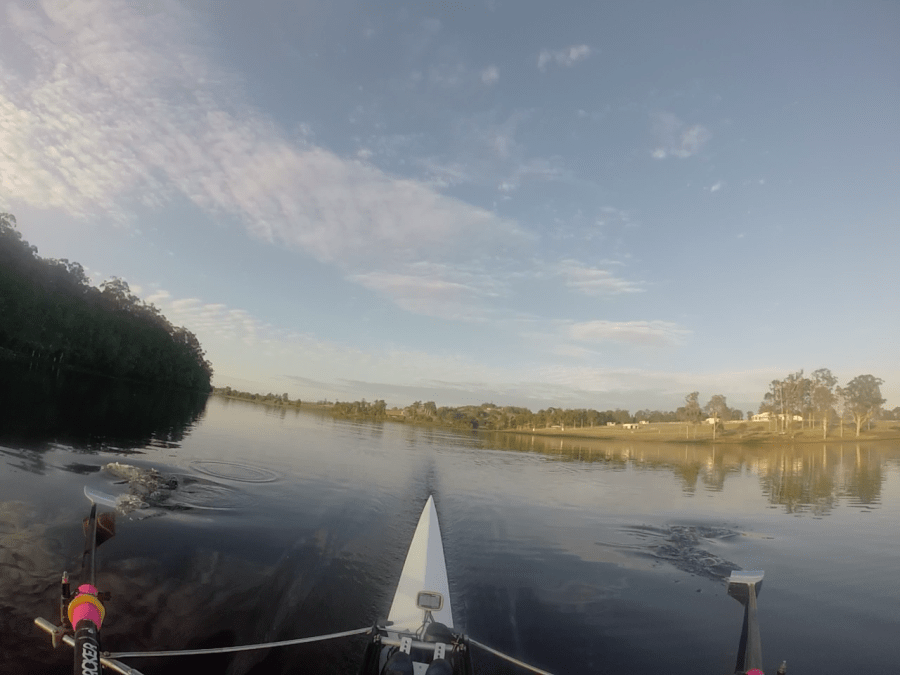
Head-mounted
- This is fabulous for showing people where you row, or showing people who don’t row what it looks like from the driver’s seat. Some places we row are accessible only by boat and people who have never been there will be amazed.
- What you’ll see—your puddles, your run, your stern, maybe your extraction of the blades.
- Don’t bother buying the ‘Floaty backdoor’ if you’re only going to use the GoPro with the head strap (or with Chesty). The floaty is bulky and constrains the angle at which you can set the camera, which is fine if you just want to film your lap. So, don’t drop it and don’t capsize. No pressure.
- I found the head strap surprisingly comfy and it felt secure. If you wear it over a cap with a visor, as I did, make sure you’ve pitched the camera at such an angle that you are not just filming your visor.
- Position the camera dead centre if you can. Otherwise the video will be a teeny bit asymmetrical. And we don’t want that, do we?
- Having the camera on your head is a good incentive for keeping your head still and being as horizontal as possible. Row like a supermodel.
- When you want to capture the beautiful scenery around you, move your head left and right slowly and smoothly unless you want the Blair Witch effect.
Chest-mounted
- This is fabulous for showing people your knees; see them rise and fall. Perhaps it could be used as ‘augmented reality’—you know, giving people that immersive experience without them having to get out of bed at 5 am, or ever. I showed a clip to my clubmates and, after the shrieks of laughter (or perhaps horror) had subsided, a lone (male) voice was heard to say: “It’s almost erotic”. I guess that’s as good as it gets for a masters rower. ‘Almost erotic’. I might have to rename my boat.
- What you’ll see—your hands on the recovery; how early/late your knees break on the recovery; how quickly/slowly your knees go down on the drive. Lots of knees. And some nostrils as you rock over.
- Chesty has 2 straps designed to sit above and below your (man)boobs. In that position, the GoPro is too low so I moved both straps above the boobs to get some height.
- Having it there encouraged me to sit tall.
- Chesty comes with the connection piece installed upside down—I think they designed it with skiers in mind. You need to unclip it and put it back in with the logo upside down. To remove it, pinch the 2 sides and then push it out. You may break a fingernail.
Chest-mounted backwards
- This is fabulous for showing people your bow. Or, in a race, the rowers who are beating you.
- What you’ll see—not much. I was hoping to see my blades enter the water and they were just in view now and again, but not quite useful enough.
- Chesty is not designed to be worn backwards. Beware of strangulation.
Attaching the GoPro to the shell or the rigger
- The camera came with a couple of different shaped bases with sticky undersides but I’m not sure I want to attach one of them permanently to my shell. This guy didn’t mind. And now he’s got a wonderful indelible memory.
- To get a good side view, some people have attached the GoPro to a pole that extends out from the pin. This guy uses an old backstay and balances up the additional weight on the other rigger:
Recording / downloading
- Make small files i.e. press stop/start every now and again. Some of my recordings are 20 minutes long and I haven’t been able to download them without the fully charged GoPro battery going flat halfway through the download.
- When I connect my iPhone to the GoPro with wi-fi, and play back the video, the quality looks great. When I play it back on the iPad the quality looks poor, but rest assured—when you actually download it to the iPad (or upload it straight to YouTube) and then play it back it looks fantastic.
- It’s simple to ‘grab’ high quality still photos from the video recording, which means you can capture your exquisite catch/finish and bore your friends with it.
- I used the 960-50 setting on the camera because that’s what the manual recommends for hand-held video.
I forgot to try the head strap back to front. Tomorrow!


Awesome, this seriously made me laugh! If only there was a balance calibrator so that the footage was horizontal regardless of how angled you are holding the camera! Do you have a link to the backwards head mounted video?
LikeLike
Yes great post Mary
Nice leg work
LikeLike
Thanks Kym. When’s our next dawn duel?
LikeLike
Great post Mary. Very entertaining and informative. Stroke looks good!! Marg
LikeLiked by 1 person